I’ve made about ten laundry bags in the past couple of years, and it has taken me that many times to perfect the design. Either they turn out too small, or I leave out a critical feature…it has been frustrating to find the perfect laundry bag design to fit my needs! My duplex has two sets of stairs and I have lots of clothes and linens to wash each week, and toting all that heavy laundry up and down those stairs is a never ending source of agony. What is a girl to do?
Recently I ordered a batch of fabric, and the orange fabric was just so bright and bold that I couldn’t see myself using it in a quilt. So I decided it was the perfect chance to whip up a couple of laundry bags. I wanted a bag that is large enough to hold a comforter but also easy to carry when it is loaded up with clothes. Here’s my simple laundry bag design. Once you get the hang of it, these things are so easy to make! I made two of them in less than an hour today. Try to look to your linen closet for the fabric, you can use an old sheet or table cloth if you have one handy. If you need a smaller bag, use an old pillow case. Creating a custom laundry bag makes the chore of doing the wash that much more fun!

Laundry Bag with Loop
Materials:
approx. 1 yard of fabric
hemp twine
basic sewing kit and sewing machine
safety pin
pinking shears
A scrap of fabric for the loop 3 1/2 inches wide by 18 inches long
(Sometimes I just use a scrap of ribbon or an old fabric belt from a shirt or dress cut to size for the loop.)
Step One: Iron the yard of fabric, or if you just want to get to sewing you can use wrinkled fabric. Fold the fabric in half on the shorter side with wrong sides together so that the selvages meet, and sew along the selvage line. Use a half an inch seam allowance to allow room for finishing. Be sure to leave two inches open at the top for the drawstring.
Step Two: Sew along the bottom of the bag with a half inch seam allowance. Then finish the seams with pinking shears along the bottom and side. If you don’t have pinking shears, there are two alternative ways to finish the seams. Either zig zag the edge or else just leave it unfinished because the half inch seam allowance provides room for a bit of unraveling without the seam coming undone.
Step Three: Create the drawstring sleeve. Fold the top edge down so that the fold goes toward the wrong side of the bag, so that there is about a one inch opening to feed the drawstring through. Sew along the edge with a zig zag stitch to tack it down and finish the seam in one step. You don’t have to pin it if you feel comfortable, instead simply fold that edge down as you go along. Flip the laundry bag right side out.
Step Four: Begin a knot at the end of the hemp twine, and put a safety pin through the knot. Tighten the knot on the safety pin and double knot it for security. Then work the pin through the drawstring casing. Leave about four to five inches on each end of the hemp and trim. Then tie a triple knot on to join the hemp ends.
Step Five: Create the loop. Fold the rectangle of fabric in half width wise with wrong sides touching. Then sew along the length of the fabric. Finish the edge with a zig zag stitch, then flip right side out using the safety pin. Pin onto one side of the fabric and work the pin through the tube of fabric, pulling as you go to straighten it out. Then attach along the top edge of the fabric to one side.
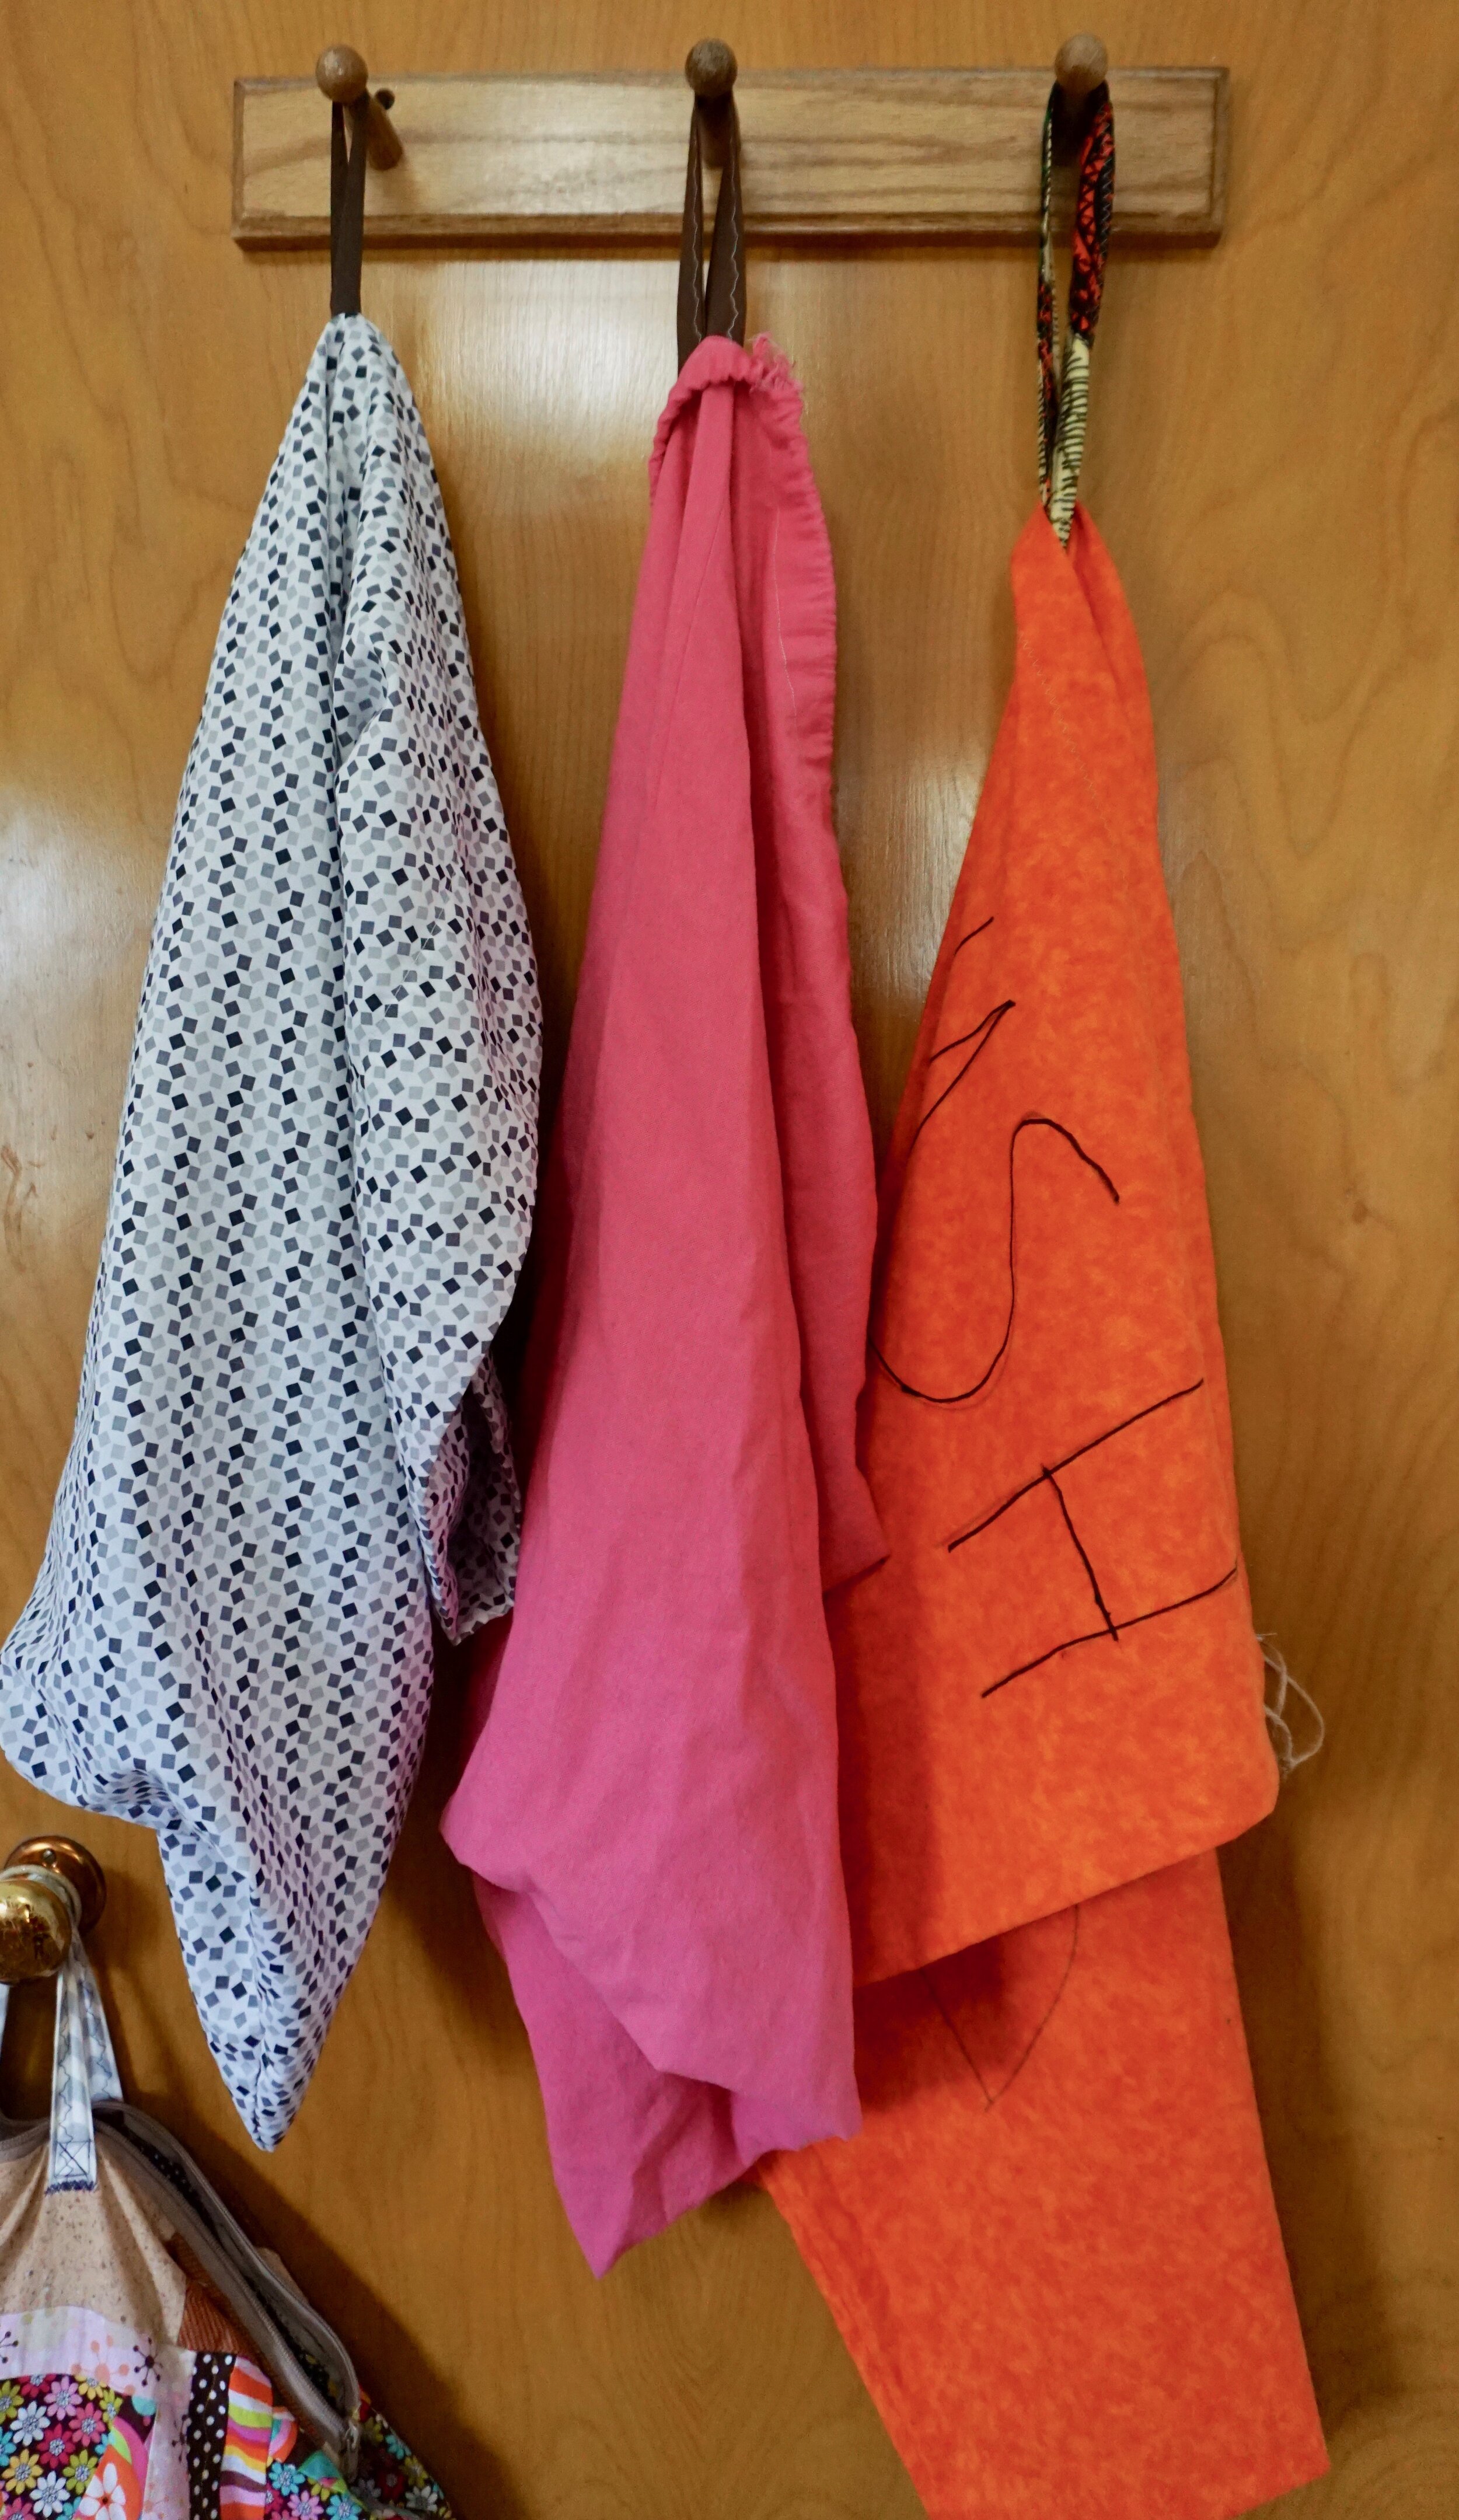
Step Six: As an optional step, decorate your bag. Grab a sharpie or fabric paint and write or doodle designs on the bag.
These bags make great gifts, and you can make them larger or smaller depending on the size of wash load you do. Make a bunch and laundry day becomes a breeze!