Sew a Prayer Banner
I’m back to sewing, and trying to use up some of my stash! I have a bag of quilts, most of which I sewed last year, that I’m donating to OxygenFarm Quilts in Nebraska, because they have partnered with a local to them non profit. The quilts will be going to homeless families with kids and I’m so overjoyed that the quilts will be loved! Onto the next project!
Step One Prayer Banner
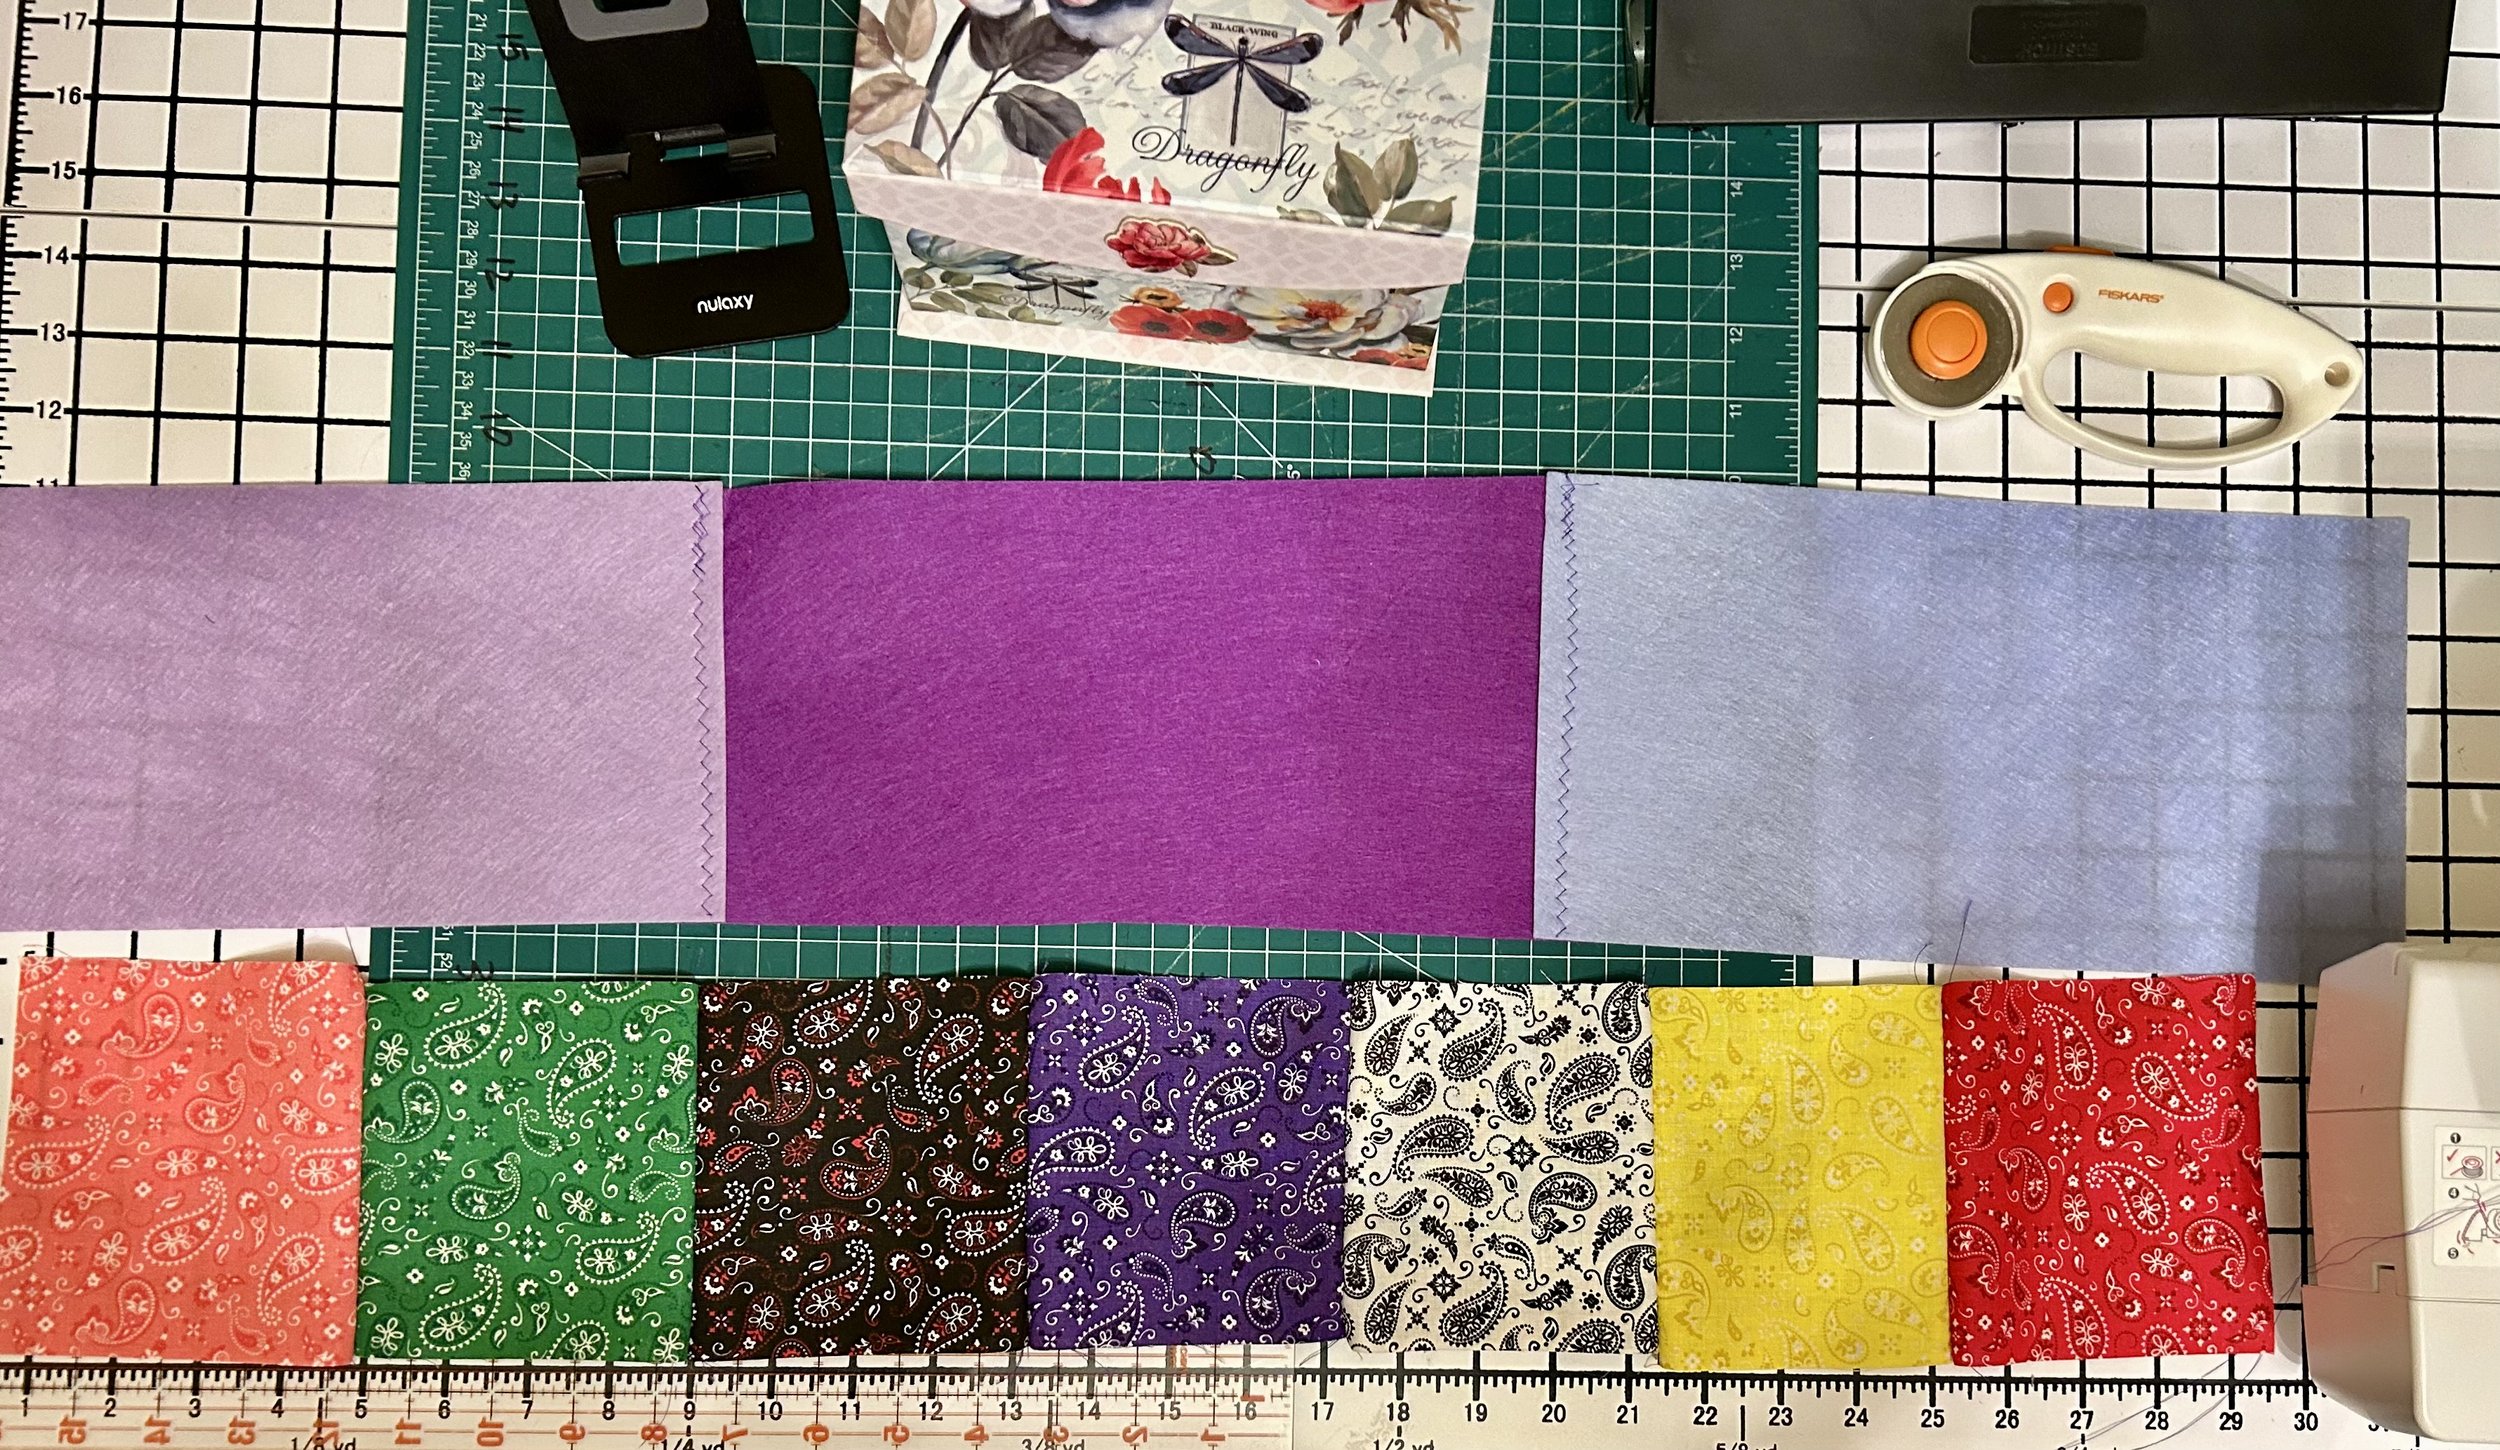
This project was inspired by Tibetan Prayer Flags. I had a huge stack of squares in rainbow colors, so I just started sewing them together into strips. I collected an assortment of squares when I was sewing quilts to donate. I also have a stack of felt pieces, just waiting to be used in projects. I use the felt when I want a thicker layer that is somewhat stiff. It is perfect for backing smaller wall art pieces like banners and art quilts. You can use a heavy denim or twill fabric as a substitute for the felt. (The more layers you add to a piece, the more structure a piece gets. So layer up if you don’t feel like your fabric wall art is sturdy enough.)
Before you start sewing, decide what you want your banner to say. That will dictate how many squares you use. I wanted to use seven squares, so I decided on the words “Big Love” as my prayer. Building and nurturing the love in my heart has always been one of my greatest spiritual practices, no matter what I’m going through in life. What prayer do you want to be reminded of? If you are making these to gift to people in your life, you can do a word that means something to the individual and what they are facing, or even use a word like Bravery, Kindness or Gratitude…anything that invokes a positive feeling.
Step Two Prayer Banner
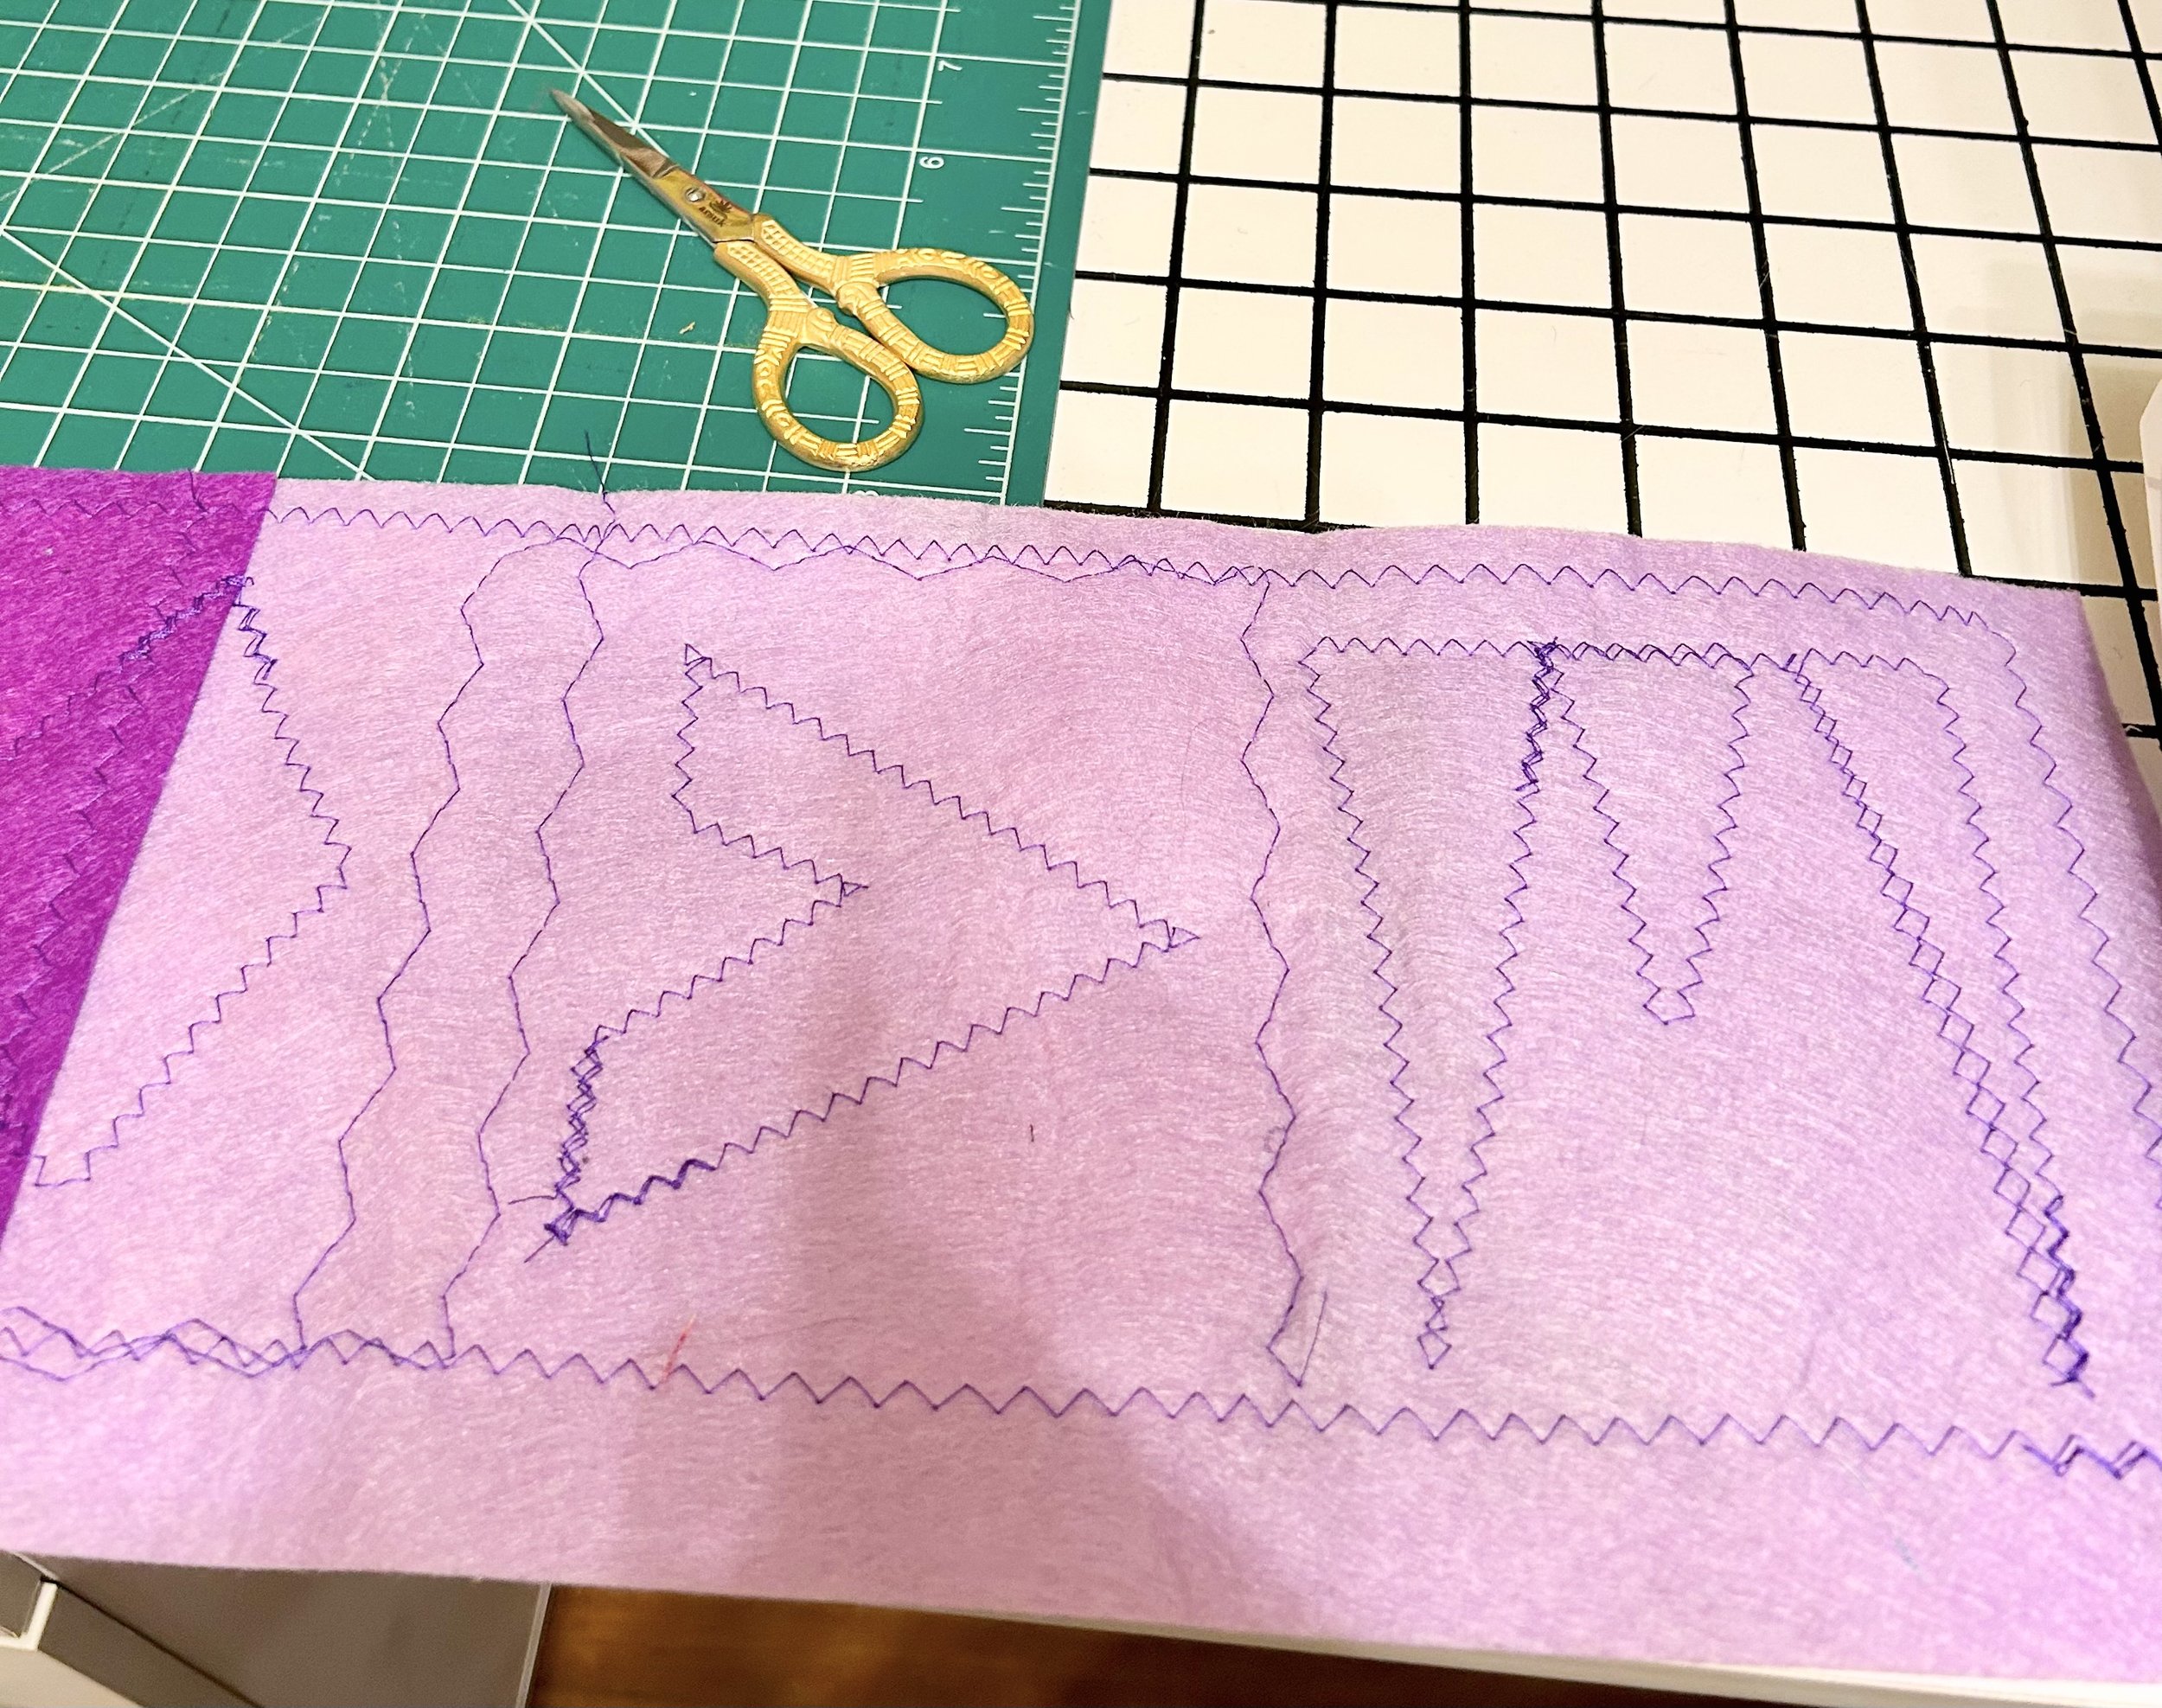
Back of Prayer Banner showing letters in reverse
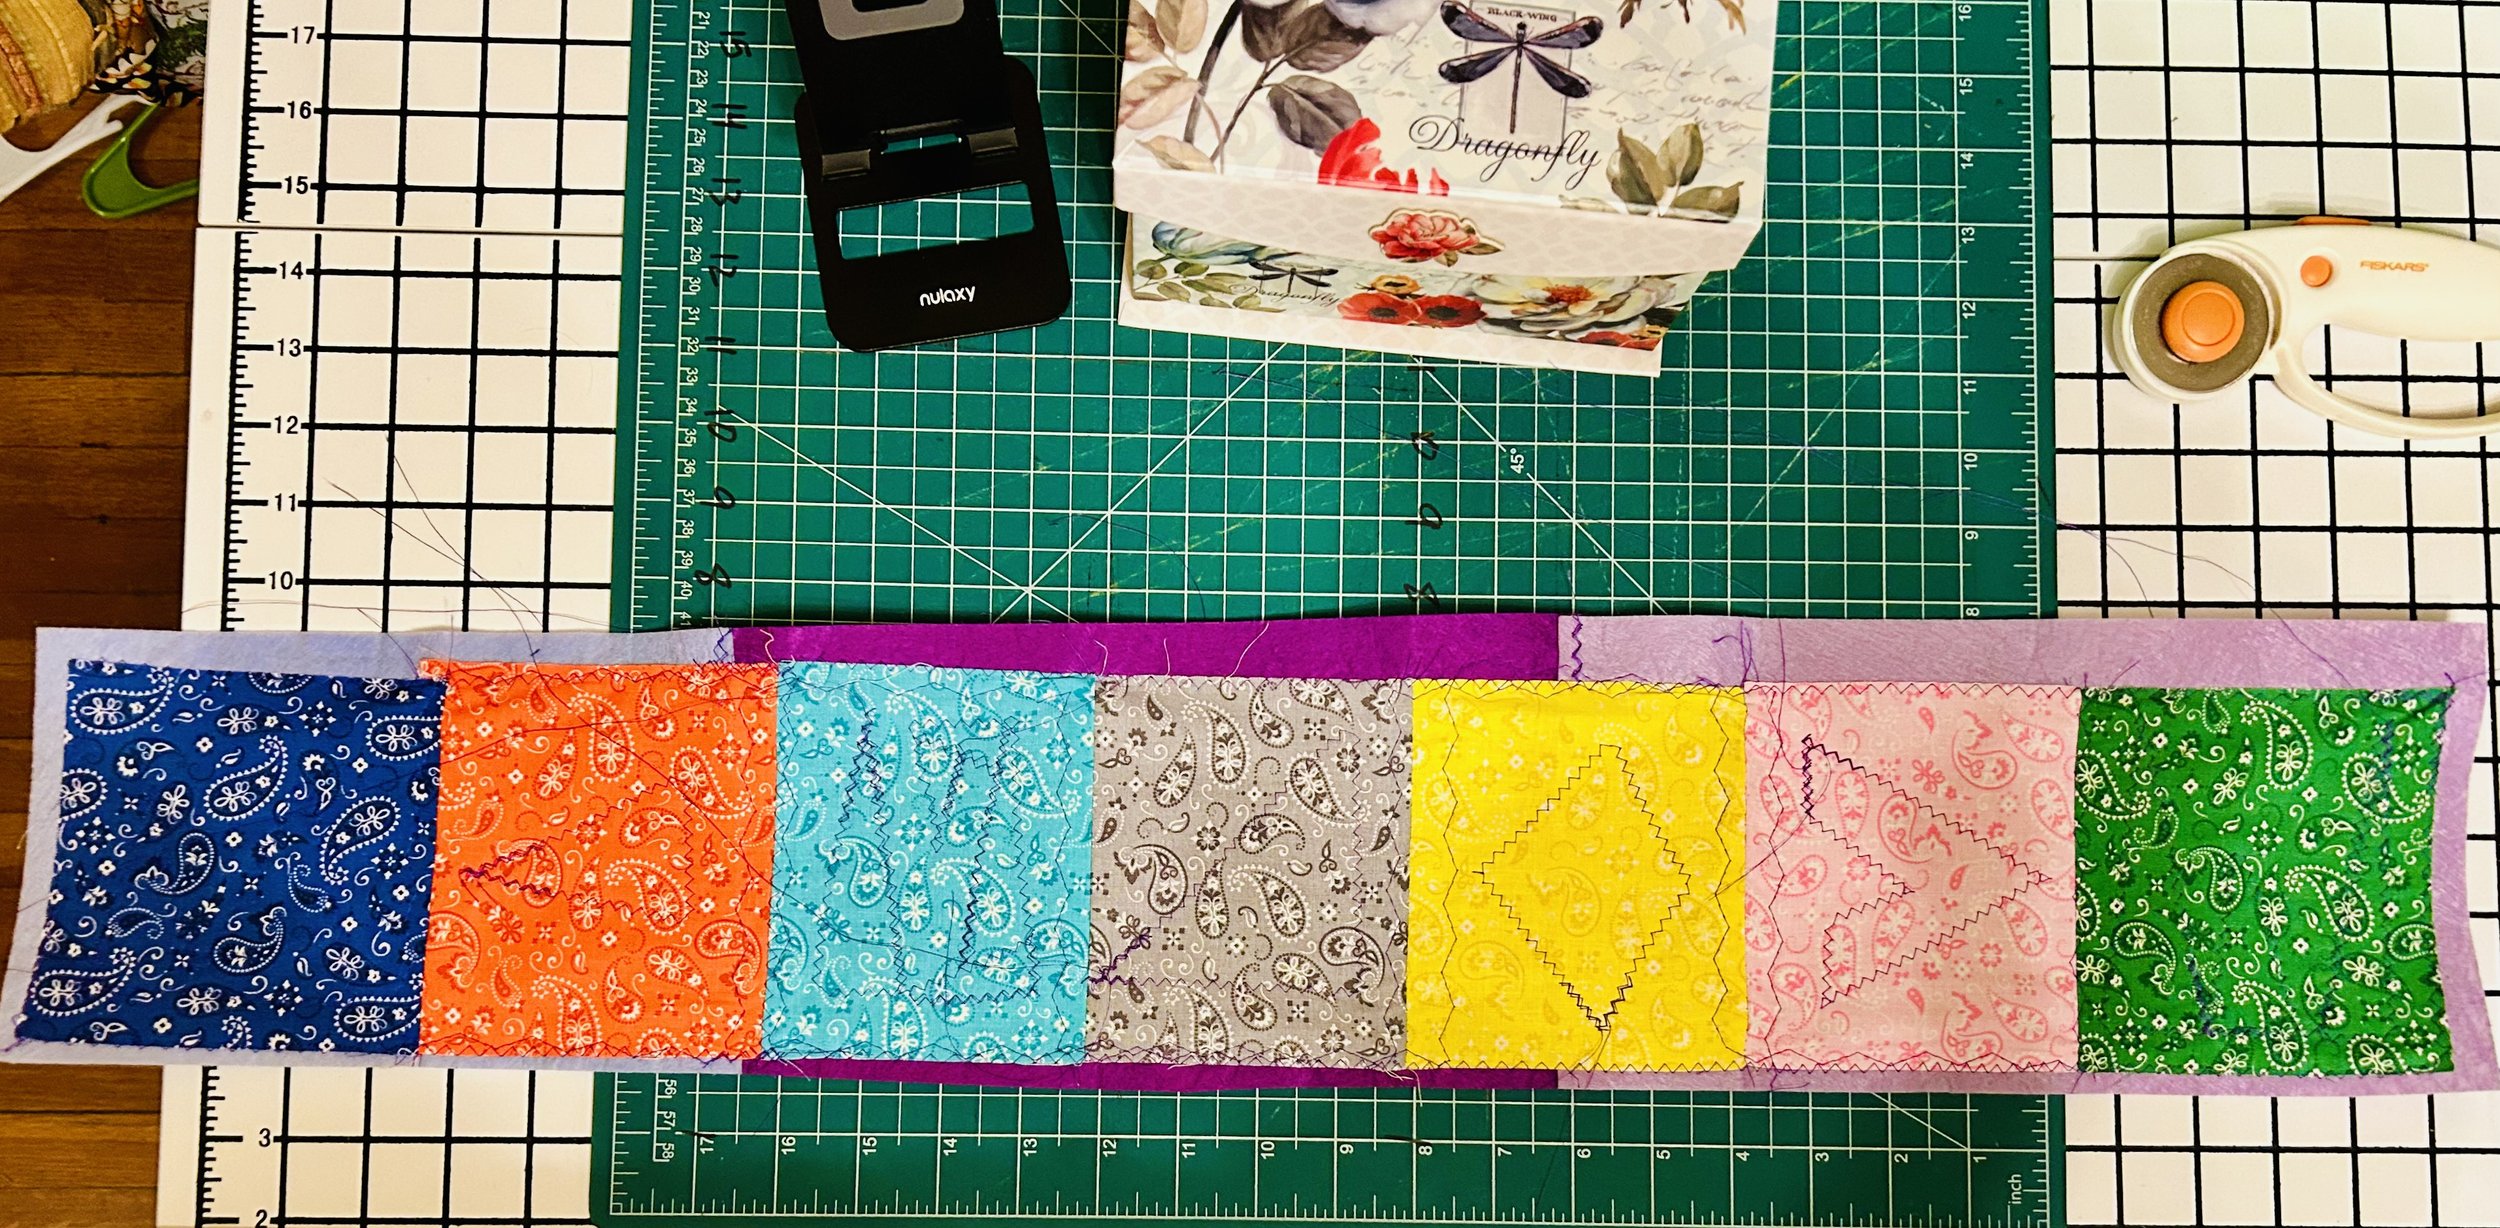
I sewed a strip of squares on to the felt, then sewed in between the squares along the seams. Next, I sewed letters onto the squares, based on triangle shapes. If you are going to try this yourself, it helps to write the letters on the back in a light marker, then sew over the marker lines. The letters have to be backwards on the back of the project to show up right ways on the front.
Step Three Prayer Banner
Next up, delicately trim the fabric away to reveal the letters. It helps to lightly pinch the cotton layer to separate it from the felt and use the very tip of the scissors to snip a small hole. Then put the scissors through the hole and slowly trim away the fabric.
Once you get all the letters cut out, add ribbon or trim to the edges of the banner if you desire, or deck it out with some embroidery, buttons or beads. Add a loop at the top to hang it up, and the banner is complete!


