Sunshine Eco Blanket Tutorial

Sunshine Eco Blanket by Kathryn Sturges
I have wanted to try a project like this for years! It is so strange how creatives work, because sometimes you have so many creative dreams that ideas get pushed back years before you see them come to fruition. This eco blanket was really simple to make, and it would be an awesome holiday gift to share with a loved one. You could probably make this in a day if you spent three to four hours in the sewing room. And you probably already have everything you need to whip this up! Try to use what you have…that is the eco challenge posed here!
Materials:
Thrifted fabrics…or old sheets, an old duvet cover or table cloth material
Basic sewing kit
Binding for your blanket
Other scrap material for the applique (I used an old shirt and a quilting cotton from my stash)
A large plate or other round object
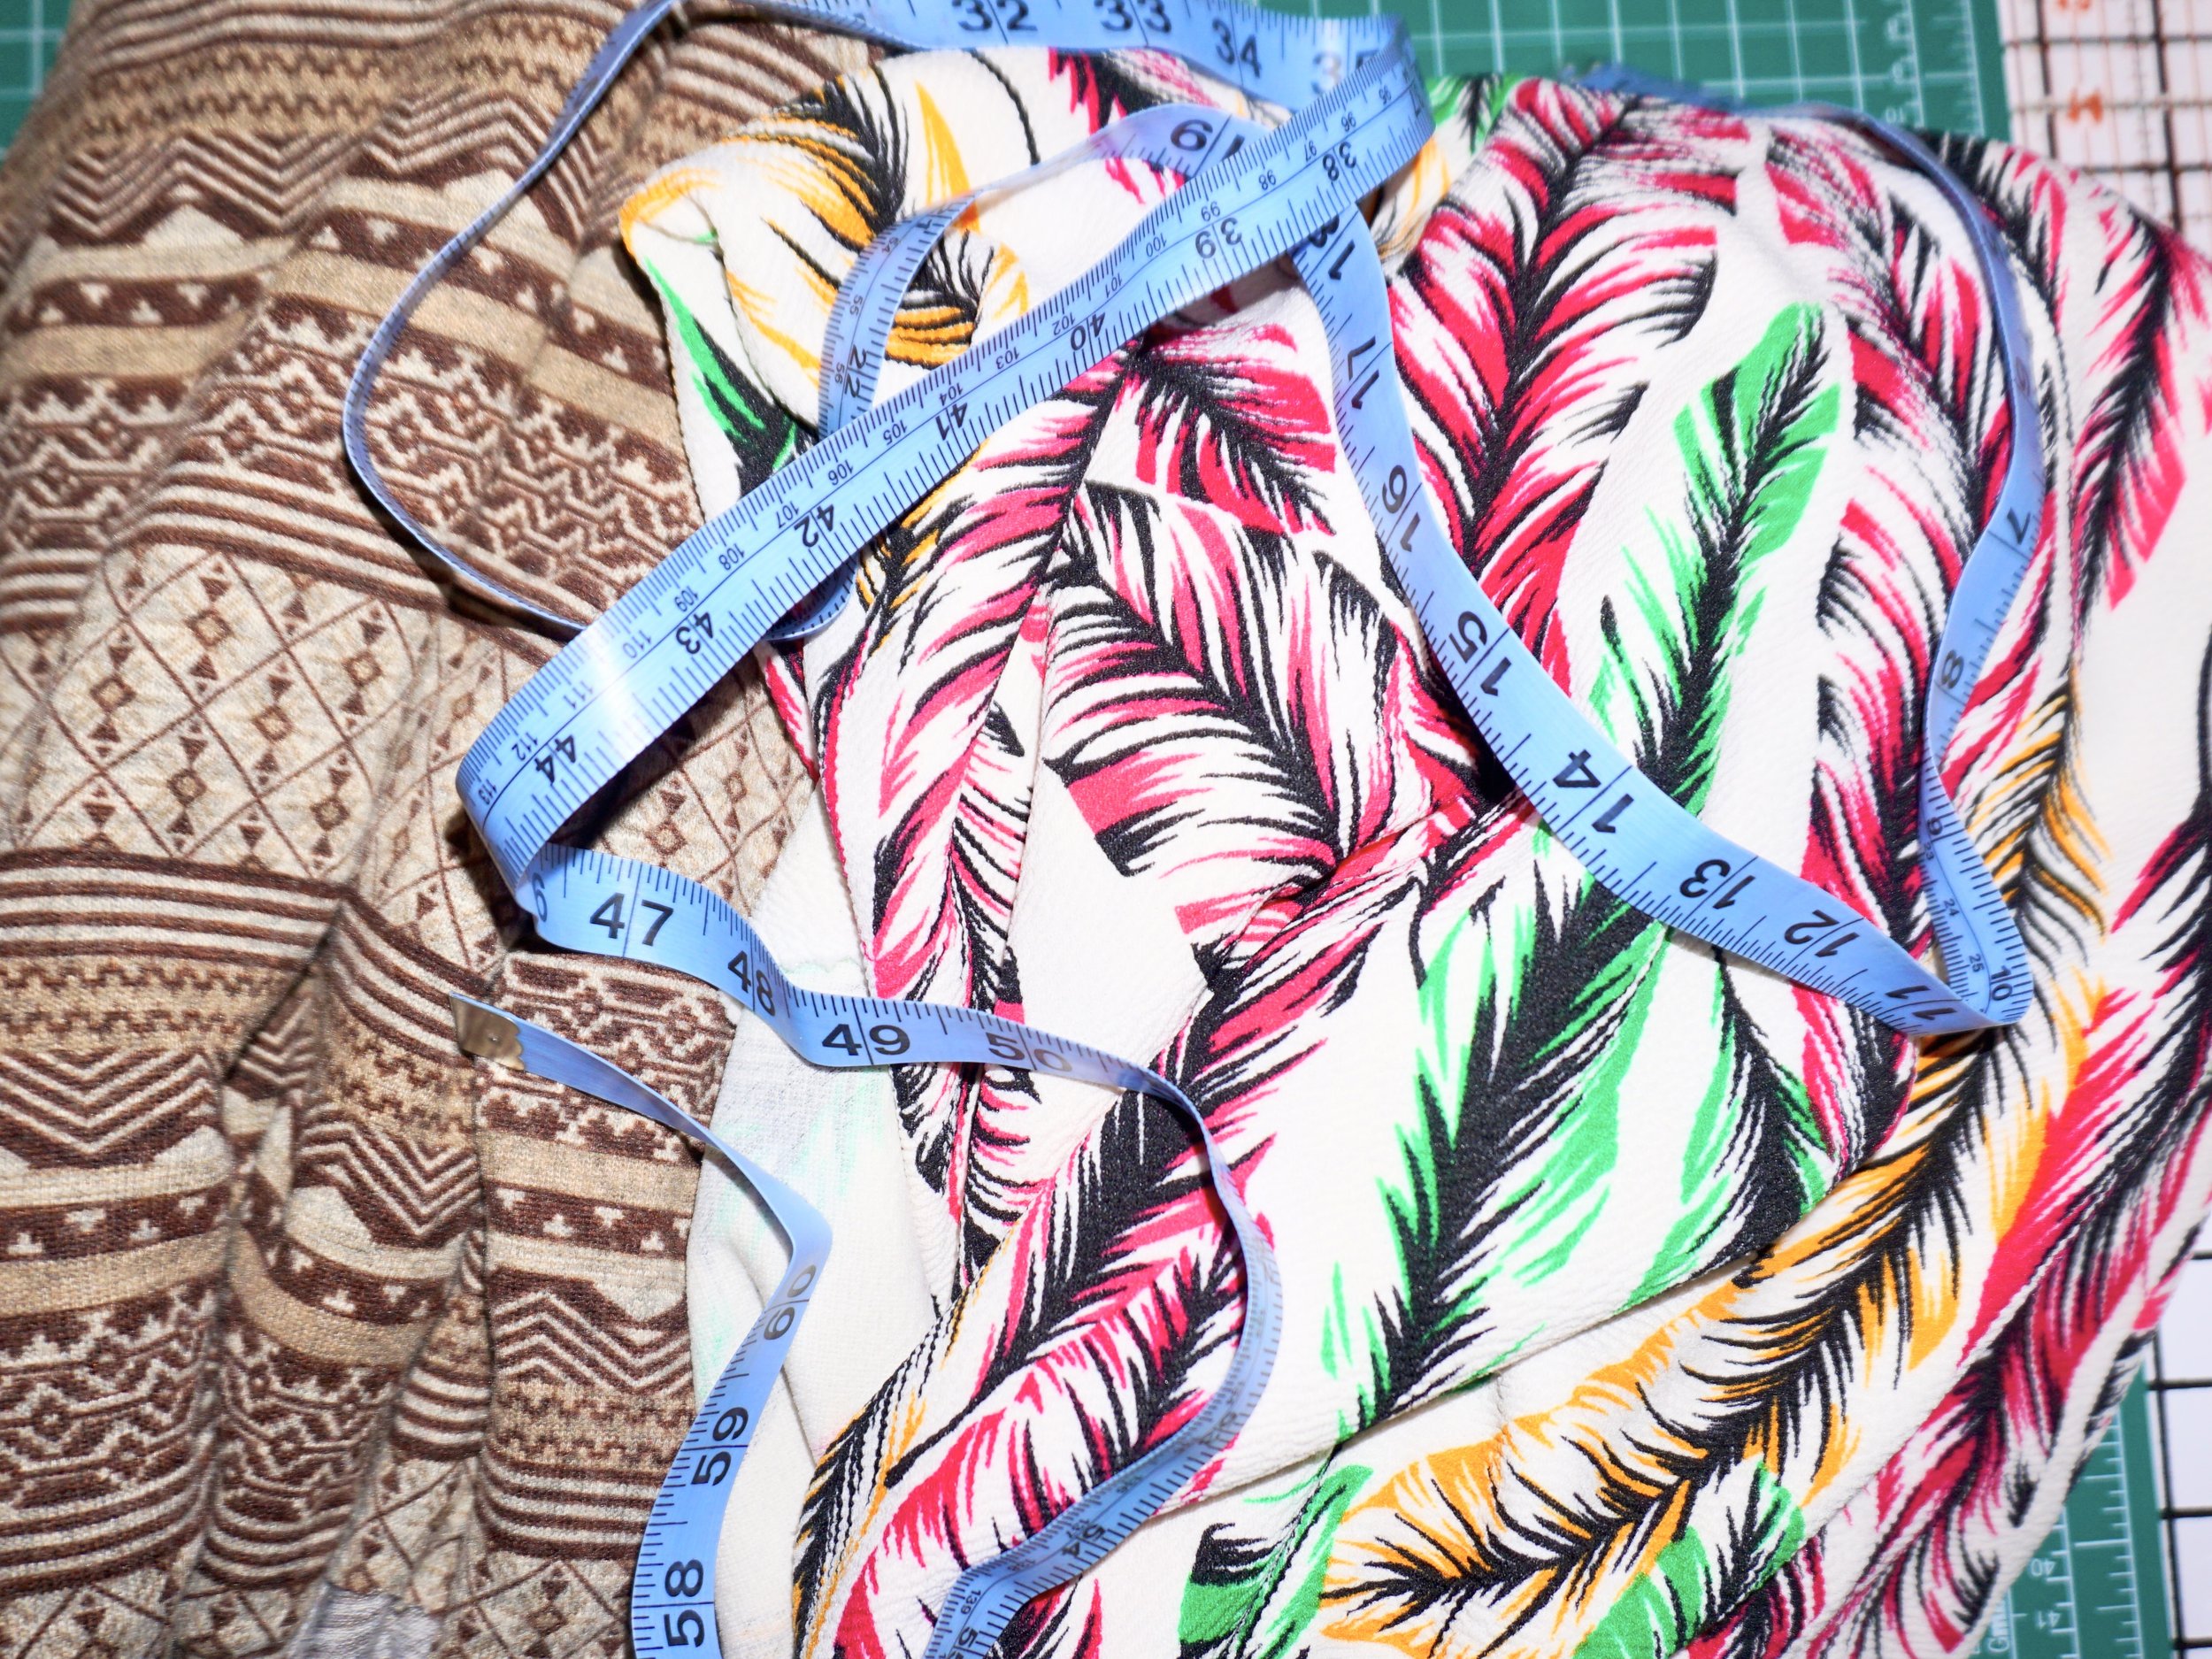
I scored so big when I got a mystery box of old knits on Etsy last year! I got tons of yardage of fabric for only $50, it was estate fabric and arrived in a big ole box. I hung up all the fabrics in my sewing room closet, and the other day I was super chilly, I wanted to make a poncho. So I grabbed these two fabrics from the closet, but quickly realized they would be really cozy as a blanket. Root around your linen closet and stash and see what fabric you can come up with! An outdated duvet cover, old sheets, an old fleece blanket or table cloth would all work to make this original blanket.
Step One: Cut two squares of fabric, approximately 55 inches square. I skipped this step and assumed my fabrics were already squared off…but they weren’t! Sometimes measuring is the way to go! You can make your blanket larger or smaller, depending on who will use it.

Step Two: If you are using a binding, stack the fabrics right sides out and pin with safety pins around the outside edges and sew. If you are skipping the binding, stack fabrics with right sides together and pin with safety pins, be sure to leave an opening to flip it right side out. I used regular pins and they immediately starting popping off the fabric. So safety pins or clips are your best bet! If you are not using binding, after you sew, flip the blanket right side out and close up the opening with a zig zag stitch. You could continue that or another decorative stitch all the way around the blanket with contrasting thread for a fun look.

Step Three: Attach the binding. I already had this binding in my stash, but you can make some yourself. Cut long strips of woven non stretch fabric, approximately three inches wide. Sew those together end to end. Then fold in half and iron with steam, fold each side under to meet the middle and iron again. Then simply wrap the binding around the edges as you sew, and attach with a zig zag or other decorative stitch.

Step Four: Grab the fabric for the circle part of the sun. The seams on this shirt started coming apart after the last wash, and I only wore this three or four times! GRRRR fast fashion! I was going to mend it, but then it dawned on me that it would make a perfect sunshine applique. The fabric is a super stretchy and slick, odd polyester blend. I traced around a large plate to get my circle shape and then cut the circle out.

Step Five: Because the sun fabric was so awkward to manage, I attached it to a quilting cotton backing to make it more sturdy. The fabric would not lay flat on its own, and immediately wanted to fold and bunch up when I tried to pin it to the blanket. You can applique with just about any fabric as long as you stabilize it the right way. Because I could not use heat on the fabric and fusible web, I pinned the circle onto a large square of orange quilting cotton fabric. Then I switched my thread to a burnt sienna color for contrast, and sewed around the edge of the circle.

Step Six: Next, grab a pair of scissors and cut around the orange fabric to make sun rays. I just did this freehand, but if you want a more uniform look you could trace around a template made of paper or cardboard. Pin the applique onto the blanket and sew around the circle first. Then stitch down the edges of the rays. Remove all the pins, and you are done!
I’m so glad I finally made this blanket, it had been a creative dream of mine from many years ago to make an artful blanket with applique and now I have done that dream! You can change up this project to suit your own vision! Make up your own applique shape and just enjoy the process.
